Suspension training is not a new concept for physical therapists, athletes and military, but TRX launched it into the mainstream by making it widely available for the general population. The TRX Suspension Trainer was developed by an Ex-Navy SEAL who really wanted the best workout possible without having to lug around heavy equipment.
TRX Workout: Full-body Blast
Suspension training does it all. It improves muscular strength and endurance while simultaneously improving joint mobility and flexibility. Due to the unstable nature of suspension training, the exercises constantly engage your core and improve your balance. There is no limit to the progressions you can do, and everyone from the most novice exercisers to the most advanced athletes can benefit from using the TRX Suspension Trainer. Do not be deceived by its lightweight appearance, because you will get a killer workout!
Modifying Progressions
Stance/Stability
With all applicable exercises, start with your feet shoulder-width apart, whether you are facing toward or away from the TRX. If you have perfect stability in that position, you can put your feet together, narrowing your base of support and adding instability. For a further progression, try the exercise on one leg, making sure you can maintain perfect form throughout the movement.
Angle of Body/Intensity
The smaller the angle between your body and the floor, the harder the exercise will be. In other words, if you move your feet farther below the anchor point, your degree to the floor lessens, and the exercise becomes harder. To increase the difficulty of standing exercises, stand closer to the anchor point. To decrease difficulty, stand farther from anchor point. For ground-based exercises, start with the TRX hanging directly vertical under the anchor point. To increase difficulty, move your entire body away from the anchor point so the TRX strap is now at an angle. For less difficulty, move your body farther under the anchor point, so the TRX is at an angle on the other side.
Considerations
If you are a beginner, seek out a trainer or other professional to familiarize yourself with the TRX Suspension Trainer before jumping right into a high-intensity workout. Make sure you master the basic moves and establish baseline stability before attempting advanced exercises. Talk to a doctor before beginning any new exercise program.
TRX Workout Positions
SF – Stand Facing the Anchor (used for most pulling/back exercises)
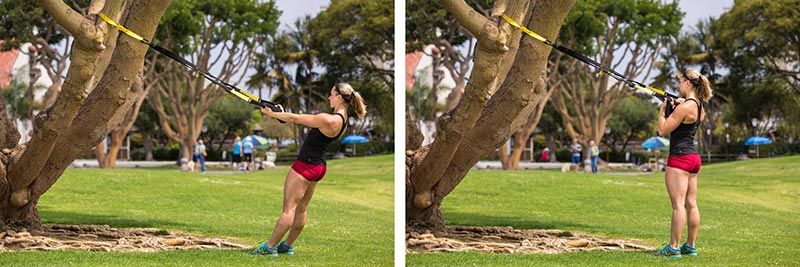
SFA – Stand Facing Away from Anchor (used for most pushing/chest exercises)
SSW – Stand Sideways to the Anchor (used for single arm/rotational/oblique exercises)
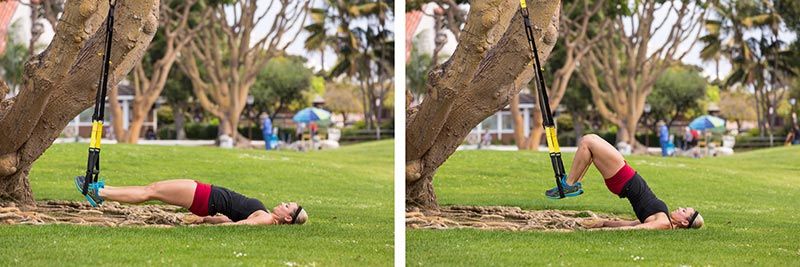
GF – Ground position Facing the Anchor (used for glute/ham/reverse plank exercises)
GFA – Ground position Facing Away from Anchor (used for planks and most abdominal exercises)
GSW – Ground position Sideways to Anchor (used for side planks/single leg/rotational exercises)
SHM – Single Handle Mode (for ease of use, grab BOTH foot straps—NOT the handles—with one hand)
THE TRX WORKOUT
Circuit 1
Repeat 2 to 3 times with no rest between exercises except to transition on the TRX. Take 30 seconds of rest between sets.
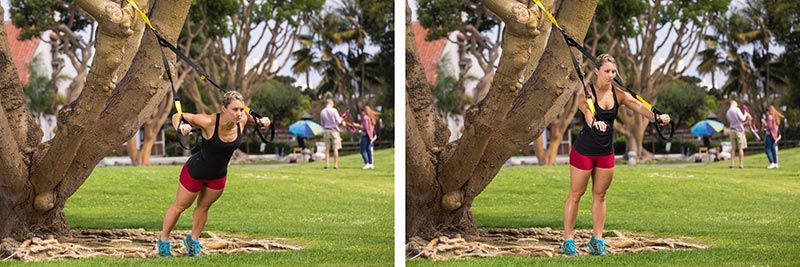
TRX Chest Press (SFA) – 15 reps
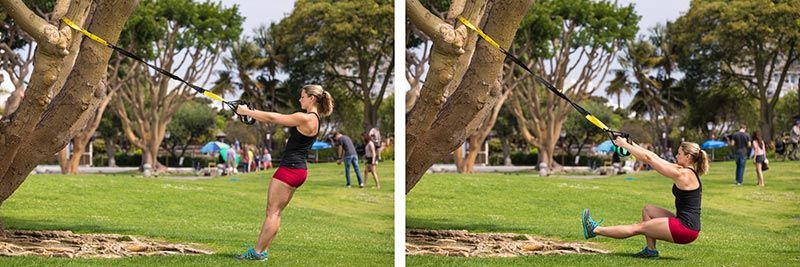
TRX Single Leg Squat (SF) – 10 reps per leg
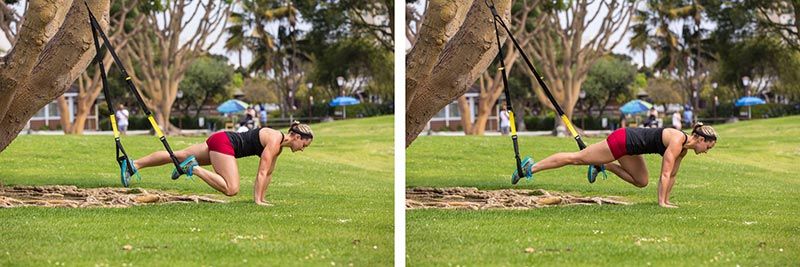
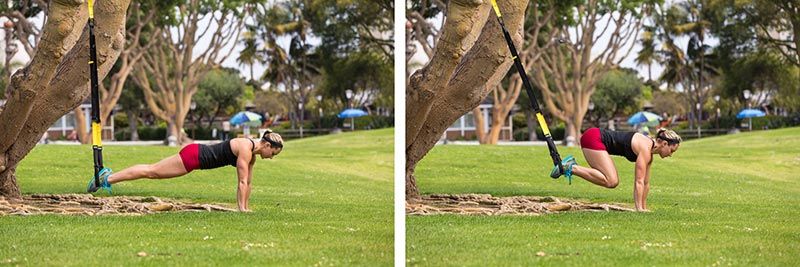
TRX Mountain Climbers (GFA) – 60 seconds
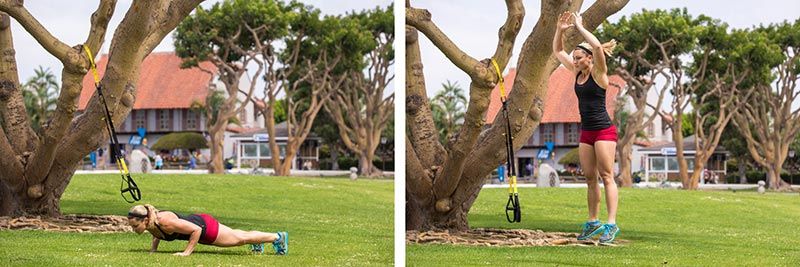
Burpees on ground – 15
Circuit 2
Repeat 2 to 3 times with no rest between exercises except to transition on the TRX. Take 30 seconds of rest between sets. TRX Mid Row (SF) – 15 reps
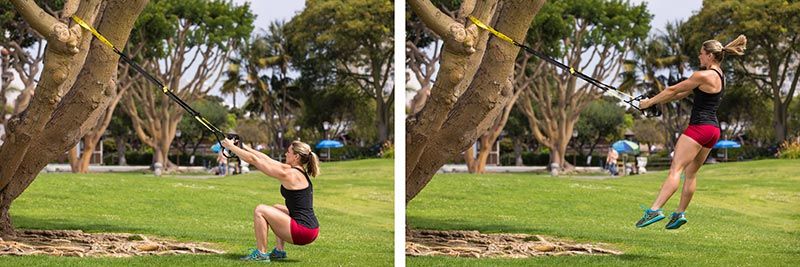
TRX Squat Jump (SF) – 15 reps
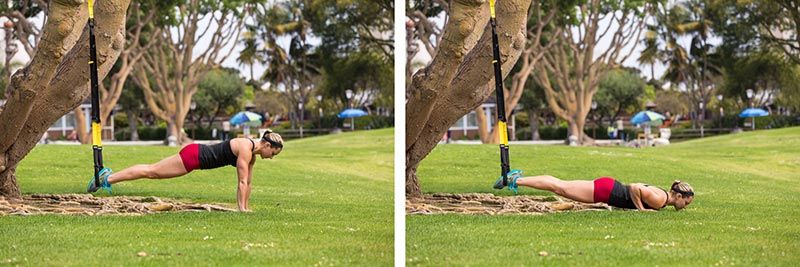
TRX Atomic Push-up (GFA) – 15 reps
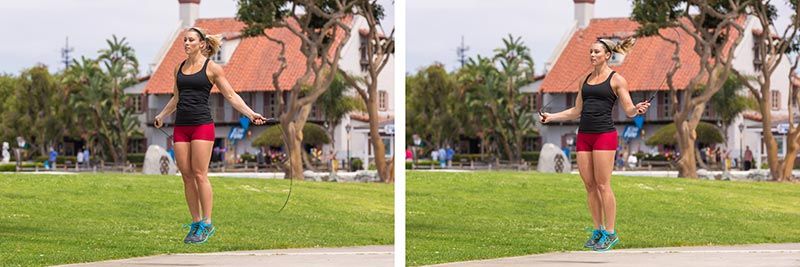
Jump Rope - 60 seconds
Circuit 3
Repeat 2 to 3 times with no rest between exercises except to transition on the TRX. Take 30 seconds of rest between sets.
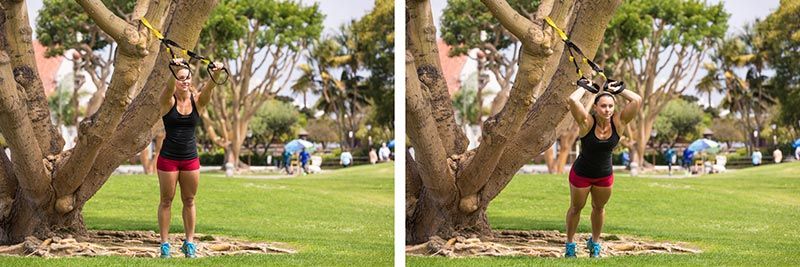
TRX Overhead Triceps Extension (SFA) – 15 reps
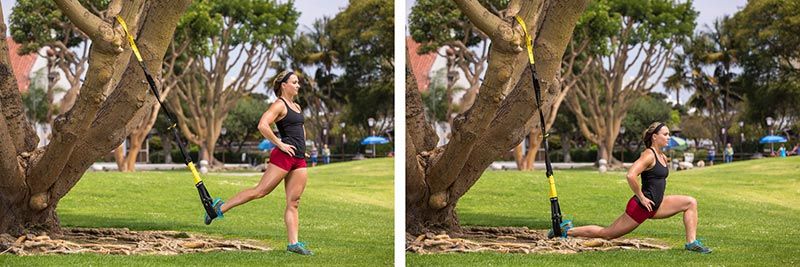
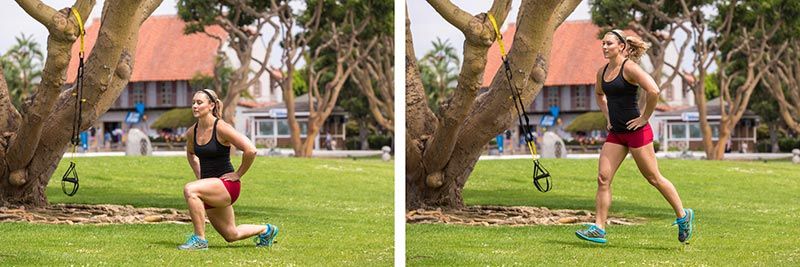
TRX Single Leg Lunge (SFA, SHM) back leg in BOTH foot cradles – 10 reps per leg
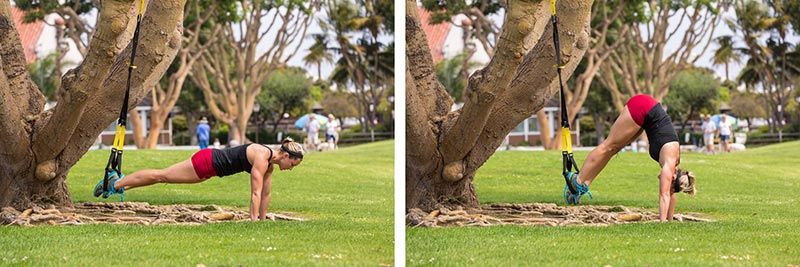
TRX Abdominal Pike (GFA)
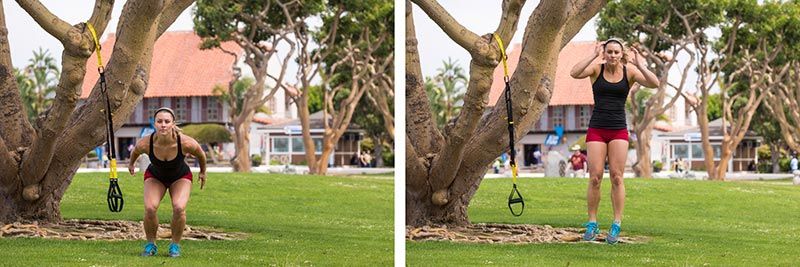
Ski Jumps – 60 seconds
Circuit 4
Repeat 2 to 3 times with no rest between exercises except to transition on the TRX. Take 30 seconds of rest between sets.
TRX Biceps Curl (SF) - 15 reps
TRX Hamstring Curl with Hip Press (GF) - 15 reps
TRX Side Plank (GSW) - 60 seconds
While your feet are still in the cradles, rotate your body 90 degrees so that you are lying on your side. After resting for 30 seconds, position your elbow or hand directly below your shoulder, lift yp your body and hold.
Jumping Lunges – 60 seconds


 by
by 


 by
by