Reaction drills are a great way to have fun while also enhancing cognitive processing (thinking) and cognitive operation (remembering). Cognitive processing drills include visual or verbal cues set from the trainer. When a client sees or hears a cue, he or she will respond to the task associated with the cue. Therefore, one takes in a sensory input and produces a physical output.
The following six reaction drills can be used with individuals or during group exercises. These drills spice up routines and reduce the monotony that often accompanies repetitious routines. Reacting to cues stimulates the client’s brain, which makes the exercises more challenging.
Medicine Ball With Quick Feet
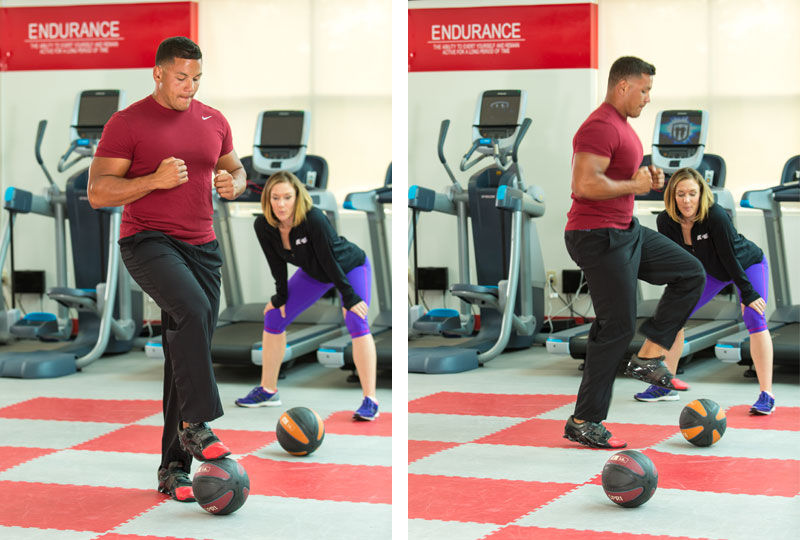
Equipment: Various colored medicine balls and a timer
Drill Length: 30, 45 or 60 seconds
Drill: Place different colored medicine balls (or dots if you don’t have medicine balls) in a circle or abstract shape on the floor. Set the timer and call a color for where you want your client to begin. Start the time and have the client perform quick toe taps, lightly touching the medicine balls. At either of the three lengths of time, call out another color. The client must find and run to that medicine ball and perform toe taps. Keep the reaction going by calling out various colors.
Regression: Walk with low-impact toe taps.
Around the World Resistance Bands
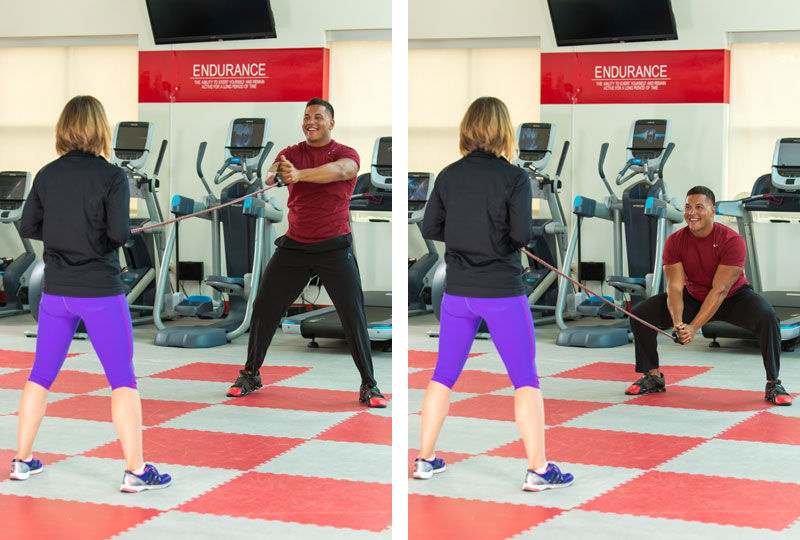
Equipment: Braided tubing (or resistance band) and a timer
Drill Length: 60 seconds
Drill: Have your client hold one end of a tube while you hold the other. Remain still while stabilizing the band in your hands. Instruct the client to assume an athletic stance and hold the arms mostly straight. Start with the legs wide, much like a squat or plié position. As you call out a direction—north, south, east or west—the client will rotate his or her body, using the core to dictate the movement. The cues must be quick to keep the flow going. If the cues are too long, the movement becomes too choppy. East and west incorporate more lunge motions, while north and south integrate a traditional squat movement.
Progression: Use additional cues: northwest, northeast, southwest and southeast.
BOSU Four-square
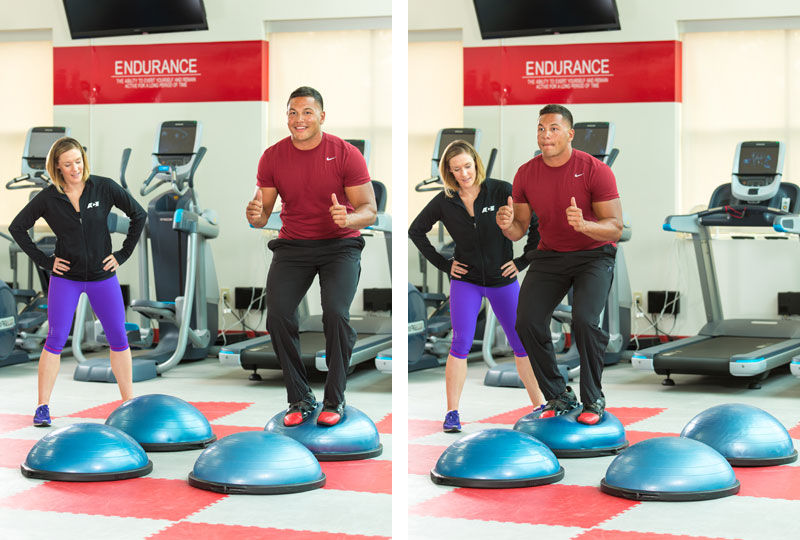
Equipment: Four BOSUs and a timer
Drill Length: 30, 45 or 60 seconds
Drill: Arrange the BOSUs into a box shape; the distance between each BOSU will depend on the height and leg length of your client. Have the client stand on one BOSU as you call out a direction: front, back, right and left. The client will leap in that direction and land on the corresponding BOSU, where he or she will an athletic stance. Cue at random times so the client practices balance.
Regression: Step to each BOSU and squat instead of hop.
Dynamic TRX Backward Lunges
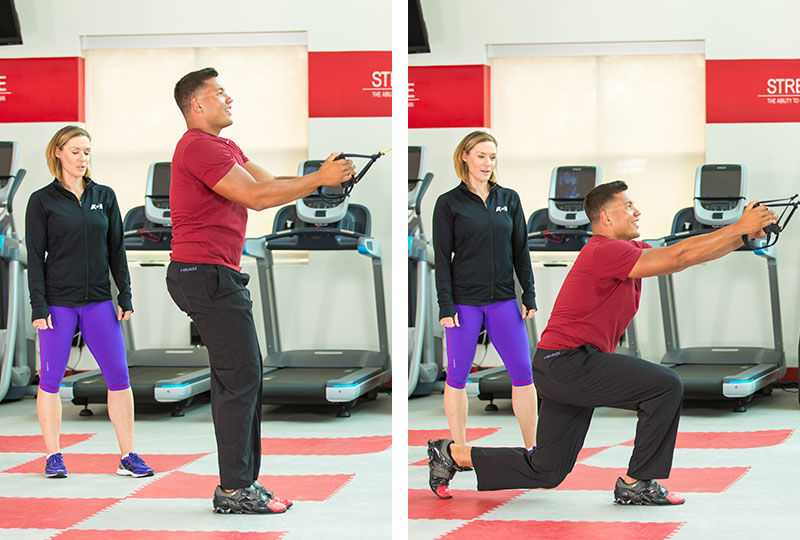
Equipment: TRX and a timer
Drill Length: 30, 45 or 60 seconds, or repetitions.
Drill: Have your client stand and hold the TRX handles. At random, call out the leg (left or right) and have the client lunge backward. Once he or she returns to the center position, call out the next direction. This drill can also be performed without a TRX if one is not available.
The Pitcher’s Game
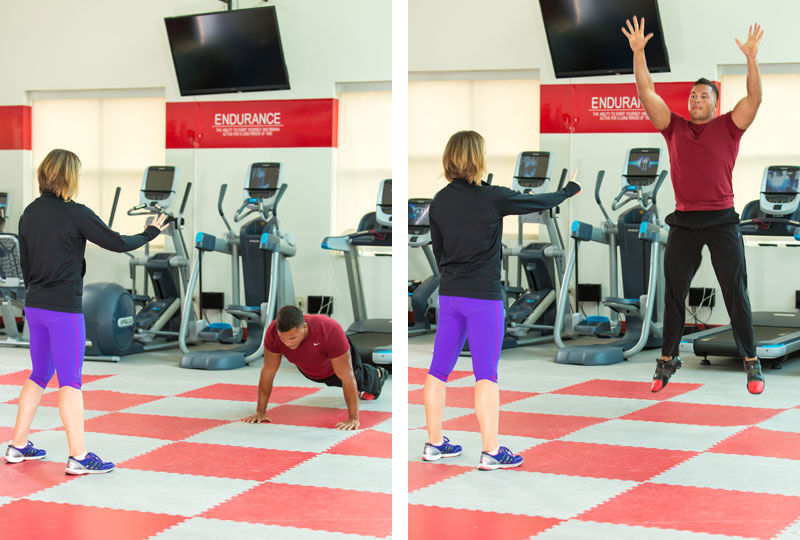
Equipment: None—only body weight
Drill Length: Several minutes
Drill: Arrange participants into a horizontal line or U-shaped position. Explain the game and assign numbers 1 through 5 for each exercise. For example:
1 – Squat jumps
2 – Burpees
3 – Jumping jacks
4 – Lateral bounds
5 – Push-ups
Stand in front of the group and pretend to pitch a baseball. On the “release,” show your fingers (holding 1, 2, 3, 4 or 5). This is your clients’ cue to perform five repetitions of the exercise associated with the number. For example, if you pitch and show four fingers, participants will perform five lateral bounds. Choose exercises that are appropriate for your clients’ fitness levels.
The X-Games
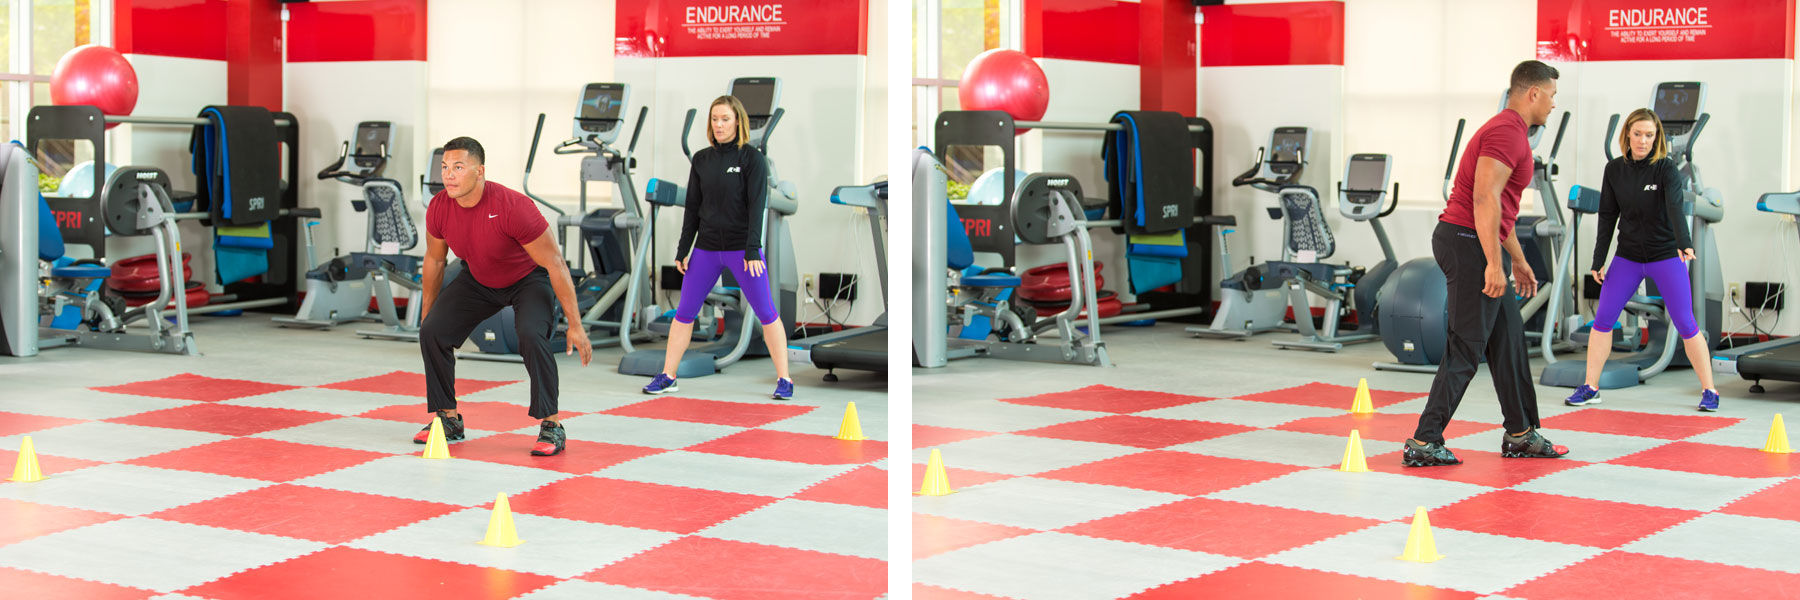
Equipment: Five cones (or dots)
Drill Length: Varies
Drill: Place the cones in an “X” shape. The center cone serves as the starting point. The distance of the cones depends on the client’s skill level and focus of the exercise. Face the client away from you. When you say, “Go,” have the client perform a 180-degree jump squat. As the client is turning, point in one of the direction of the cones. The client must react and sprint toward that cone. Shorter distances allow the client to sprint toward the outward cone and back to center. Those focusing on speed for longer distances (e.g., 40 yards) can stop running at the outward cone. Once a client demonstrates good skills, a timer can be used to sprint forward and back for a certain length of time (e.g., 20 seconds). Provide enough rest between each sprint to allow the client to start fresh at each repetition.



 by
by 





 by
by